Top Adhesive Underlayment Installation Tips
Looking for an easier way to install your roof underlayment? Take a look at our tips for a stress free, smooth preparation journey, and a successful roof underlayment installation! Roof underlayment is a necessity, but when you choose a self-adhered underlayment system the benefits are numerous. We offer a product that is specifically designed as a two-ply self-adhered underlayment for an even easier application process. What’s more, our underlayment works with any steep sloping material, such as tile, shingles, metal, shakes, or slate. Whether you are a design professional, roofer, or homeowner, this guide is suited to you!
Prepare For Roof Underlayment Installation
Prior to installation you should do some research on newer underlayment products and services that have been revolutionizing the roofing industry – such as 2 ply, self-adhered underlayment system from Tag & Stick! There is a tendency to get stuck in our old ways and not explore new solutions, but by doing this you will never revolutionize the proverbial “wheel”. Discovering a product that improves your installation man-hours is surely a winner that you want to take advantage of?
If you are taking the leap toward a roofing revolution and giving self-adhered underlayment a go, you may need some assistance in how to order the products you need. An MTP pallet consists of 25 rolls, whereas the Woven Cap Sheet & the 18” Starter consists of 50 rolls. Each product has different measurement properties that also need to be taken into account, such as the weight, diameter, coverage and dimensions of each product roll. At Tag & Stick help is only a phone call away – we can help advise how much of each product you will need for your roofing job. Simply give us the roofing specs and we can handle the rest – or take a look at our self-adhered underlayment product information guide. Here you will find our basic chart of starter sheet calculations based on squares to help you decide how much of each product you will roughly need. Remember that our chart is merely an estimate and results can vary, depending on size of your roof. PRO TIP: this is a nifty chart for the roofers and design professionals out there who are already self-adhered underlayment converts!
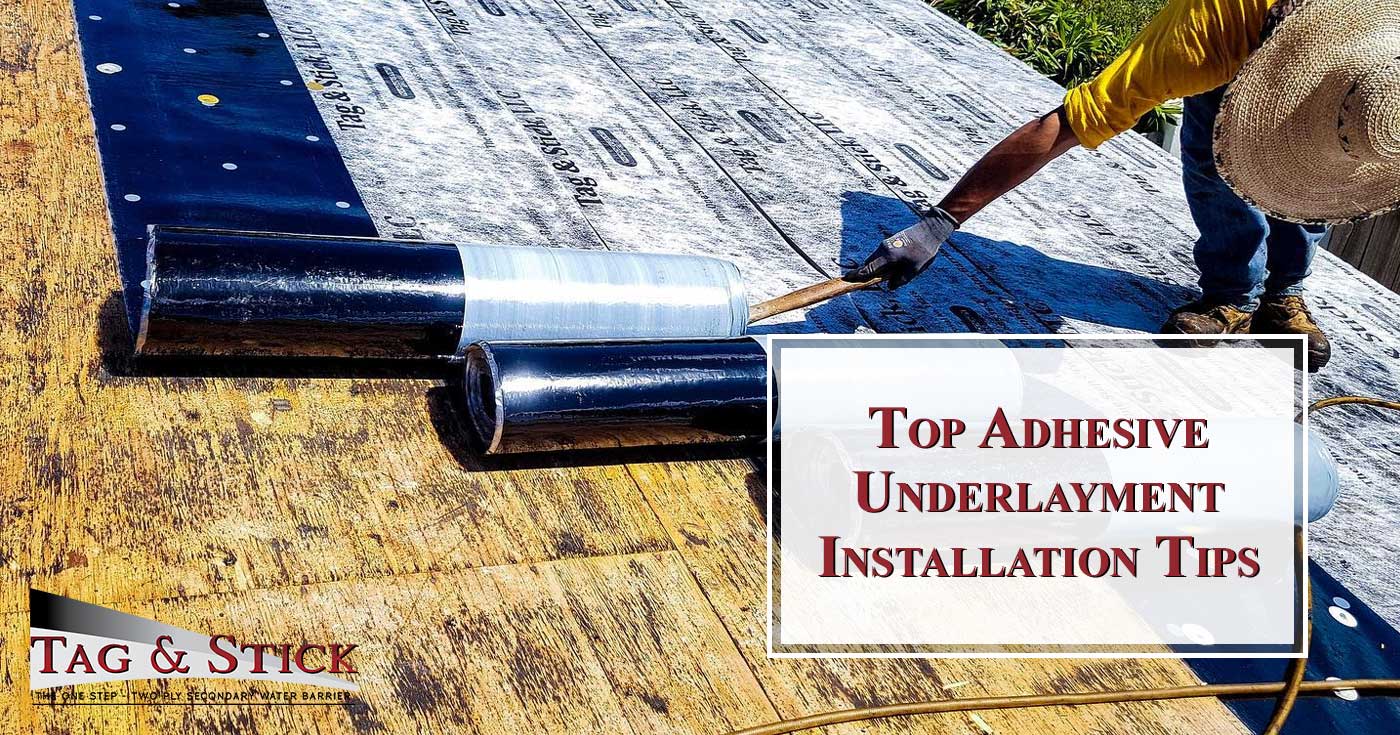
‘Do’s and Don’ts’ When Installing Roof Underlayment
- Prior to installation, make sure that the roof deck is clean and free from moisture, loose nails and other debris. If you install the half sheet and underlayment over wet or frozen substrates, it may result in moisture migration, causing buckles to occur in the membrane. You will see signs of moisture at the joints of the substrate, or in more severe cases, you can see it through to the roof covering.
- All product rolls should remain in the manufacturer’s packaging until use. If they are to be stored, make sure they are covered, and do not lay the product rolls on their sides.
- Begin by installing the starter half sheet (cut in half), which must be installed directly to the sheathing, and mechanically attached. Begin at the bottom – from the lowest point of the roof deck.
- Do not walk on the starter half sheet, until at least two rows of fasteners have been installed.
- Do not apply the adhesive underlayment when the air and deck and material temperature is less than 40°F. The material needs to be warm and soft for best installation results. If the weather does not permit for a higher temperature, then we recommended that the material be cut into smaller sections, and placed in the sun first before application, to allow the membrane to warm up.
- All Tag & Stick products should be installed in straight lines, parallel to the eaves or roof overhang.
- Only SBS compatible coatings should be used. Remember, it takes time for the roof to dry. Have patience. Do not walk on the sheets or manipulate them after installation, until you are sure that it is completely dry. Should you need to remove a sheet, you can do so without damaging the sheeting as long as it has been properly installed from the beginning.
If you need more information on how to install your underlayment, or if you have any further questions, then give us a call on (954) 255-3107 or email info@tag-stick.com. Tag & Stick is available throughout Florida.