Steps Of A Roof Underlayment Installation
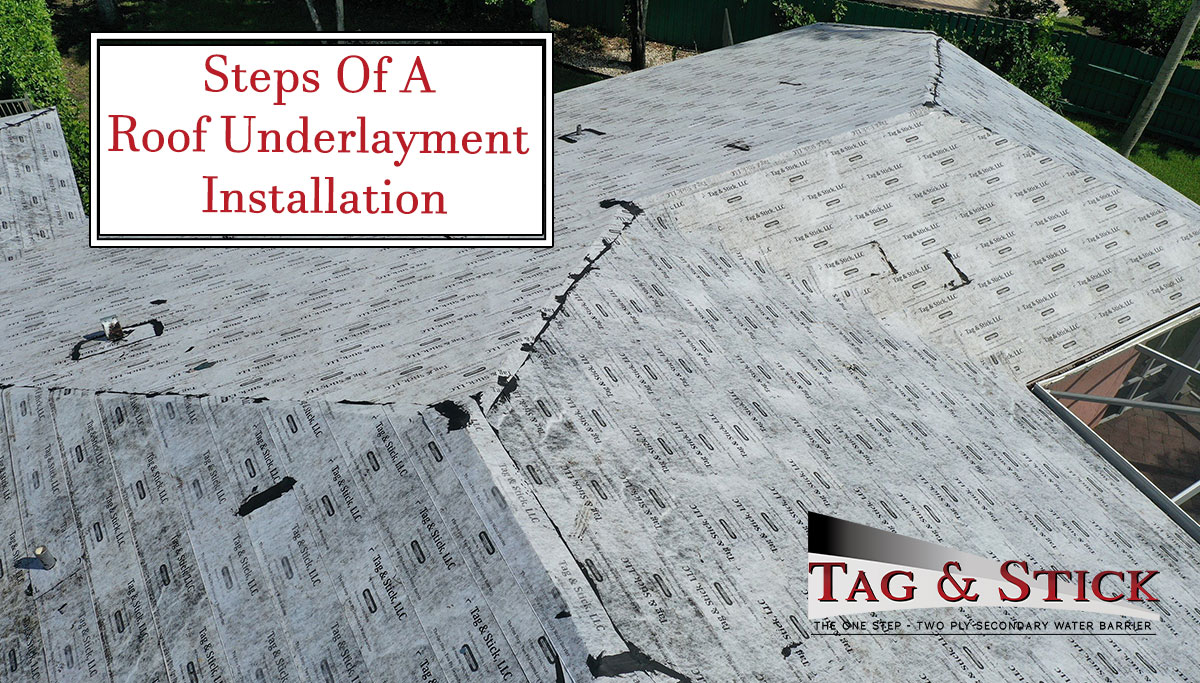
Roof underlayment is the primary material protecting your home from water and wind damage and keeping mold from developing. Our Tag & Stick two-ply modified asphalt water barrier underlayment offers an easy application with its combination of mechanical fastening and self-adhering technology.
Best of all, it can be used with metal, slate, shingle, or tile roofs. This line of defense gives a homeowner the peace of mind to ensure that no extensive repairs will be needed to their home from storm damage. It also makes your home more energy efficient, which lowers your energy bills instantly.
Read on to learn more about how roof underlayment installation works, and why Tag & Stick is a roofer’s underlayment of choice.
Installing Your Roofing Underlayment
The roof underlayment installation, it’s recommended that you hire a professional roofer to install yours. The process requires extensive knowledge about roofing systems and underlayment, so hire a professional to help. Our roofing underlayment installs better than other comparable two-ply systems, as it only requires a single step to install. This also will cut back on the cost of installation too. Talk about a win-win.
What Are The Important Steps of the Roof Underlayment Installation?
While a professional will be doing the installation, it’s important to ensure that you understand how the roof underlayment installation process works.
1. Apply The Drip Edge
The drip edge is applied to an eave. It’s important that the drip edge flashing is cut at an angle, so it’s easy to apply.
2. Overlap And Cut Edges
The drip-edges pieces are placed together and overlap about 6” inches. Make sure there are no gaps and put them in place with roofing nails.
3. Roll Out Roof Underlayment Material
Depending on which material is used, like Tag & Stick, it must be unrolled so it can be applied free of bubbles or creases.
4. Start Applying
This allows the material to be more secure. Place a few nails on one side to hold it down temporarily as the material adheres to the roof. Then remove the nails and apply the material to the other side of the roof. The process is finished once you secure it with roofing nails.
Roof Underlayment Installation In South Florida
Tag & Stick works well in most climates and must be applied when the temperature is at least 40°F or higher (which is almost always a guarantee in South Florida). It is best installed in dry conditions for optimal results.
Protect your home from the elements with our innovative roof underlayment. To learn more about our products and to get a cost estimate depending on the size of your roof, call our team at 954-255-3107 or send us a message through the “contact” page on our website.