Roofing Supply Checklist
When it comes to roofing projects, one of the fundamental steps in the planning process is estimating the required roofing materials accurately. As a roofing contractor embarking on a new roofing installation, a precise estimate of the materials needed is essential to ensure a successful and cost-effective project. A well-executed estimation saves you time and money and helps minimize waste and potential setbacks along the way.
Assessing Roofing Needs

Before diving into the intricate process of estimating roofing materials, starting with a comprehensive assessment of the re-roofing project’s needs is crucial. This initial step sets the foundation for an accurate material estimation.
Repair or Replace
Begin by evaluating the condition of the existing roof, if applicable. What you’ll be looking for is any obvious signs of leaks, damage, or wear and tear. Depending on the severity of the issues, you may need to do a partial repair or a complete replacement. Understanding the state of the current roof is paramount because it impacts the type and quantity of materials required.
Location & Climate
Consider the location and the local climate. Regions prone to extreme weather conditions, such as heavy rainfall, wind, or intense heat, may require specific roofing materials that can withstand these challenges. South Florida certainly can claim all of these challenges! Additionally, think about the architectural style of the house or building. Different roof types, such as gable, hip, or flat roofs, demand varying materials and have unique measurements. You should take your clients’ budget and aesthetic preferences into account during this assessment. By thoroughly evaluating the roofing needs, you’ll be better prepared to move forward with an accurate estimation of materials, ensuring a successful roofing project.
Measuring the Roof’s Dimensions
Accurate measurement of the roof’s dimensions is the cornerstone of any successful roofing material estimation. A small measurement error can lead to overordering or underordering materials, resulting in unnecessary expenses or project delays. To ensure precision, follow these technical tips when measuring your roof:
Use Digital Tools
All contractors should consider investing in quality laser distance measurering tools or digital roofing apps or devices to streamline the measuring process. These tools provide precise measurements with minimal effort. Start by measuring the length and width of each section of the roof, recording the dimensions accurately.
Break It Down
If the roof has a complex structure with multiple slopes, break it down into smaller, more manageable sections. Measure each section separately and then add the measurements together to get the total area. For irregularly shaped sections, divide them into simpler geometric shapes (rectangles, triangles) and calculate each separately. Once you’ve come up with how many “squares” you’ll need, then you can begin ordering the supplies.
Account for Overhangs & Wastage
Don’t forget to measure any overhangs or eaves, as they contribute to the roof’s total square footage. Extend your measurements to include these areas accurately. Another area where you could account for a little extra material is wastage. Every roof will involve some trimming, unusual corner shapes, and mistakes when cutting. A safe bet would be to account for an extra 10% in roofing materials but this needs to be determined by the make up of the roof.
Include Pitch or Slope
Measure the roof’s pitch or slope accurately. The pitch is usually expressed as a ratio (e.g., 4:12), representing the rise in inches for every 12 inches of horizontal run. Understanding roof slopes is crucial because it affects the quantity of roofing materials needed. As a contractor, you should already own an inclinometer. If you’ve not bought one yet, there are smartphone apps available with built-in levels to measure pitch.
Consider Roof Accessories
If the roof has chimneys, vents, skylights, or other protrusions, measure their dimensions and locations precisely. These features affect the quantity of flashing and drip edges required.
By employing these technical measurement techniques, you’ll gather the precise data needed to estimate your roofing materials accurately. Remember that investing time in thorough measurements at this stage can save you from costly errors later in the roofing project.
Types of Roofing Materials For Estimation
When conducting a roofing estimation, you’ll have to consider the shingles, underlayment, flashing, and tooling. All of these will be purchased in large quantities so it’s critical to make sure you get your estimates close.
Underlayment
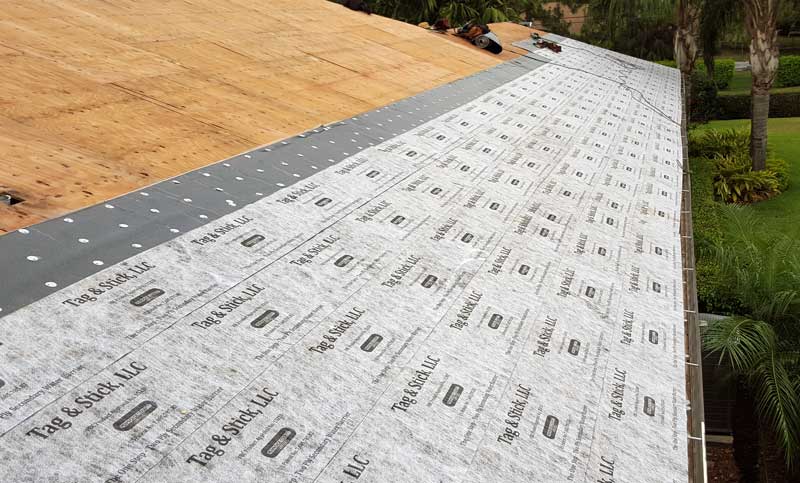
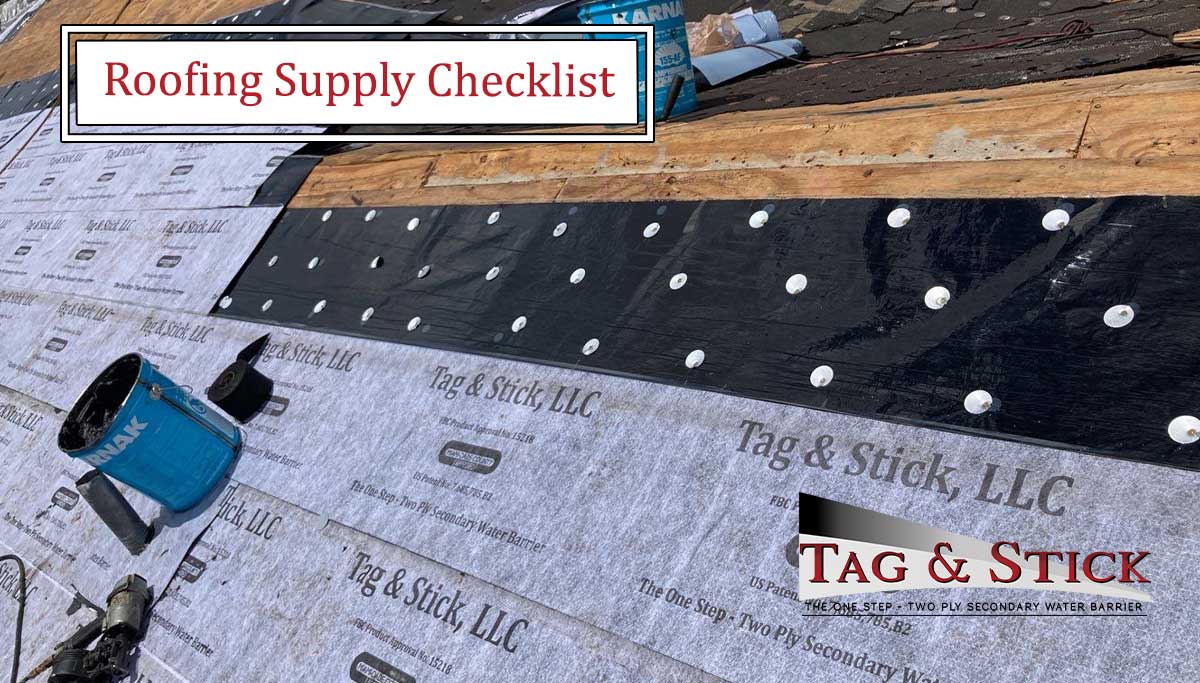
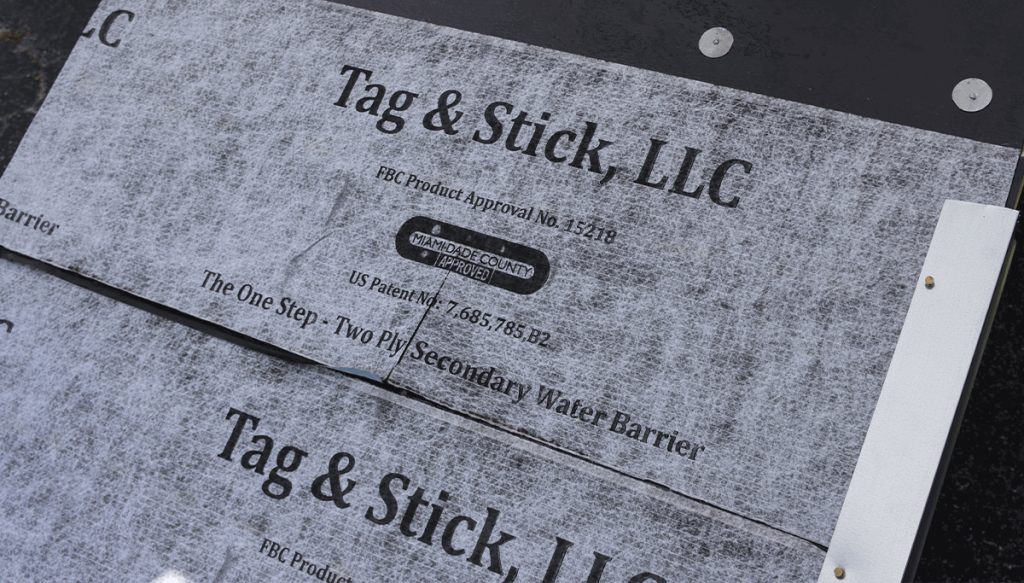
As you well know, roof underlayment is a critical component of the roofing system. As a contractor, you should choose an underlayment that provides the best possible protection against water infiltration. The most suitable underlayment is a self-adhering underlayment as it complies with Florida building code wind load requirements. An excellent candidate for this is Tag & Stick’s 2-ply, modified bitumen, self-adhering underlayment. It is a 2 ply system installed in one step.
Flashing
The following types of flashing are used commonly in South Florida and include but are not limited to:
Metal Flashing
Typically made from materials like aluminum, copper, or galvanized steel, metal flashing is used around roof penetrations such as chimneys, vents, skylights, and in valleys where two roof slopes meet. Metal flashing is durable and resistant to corrosion when properly maintained.
Rubber or EPDM Flashing
These flexible materials are often used in areas where metal flashing may not be suitable. Rubber or EPDM flashing is commonly used for sealing around vent pipes, and it can conform to irregular shapes, providing a watertight seal.
Drip Edge
Drip edge flashing prevents water from seeping into your roof edge. This can occur when water gets under the tiles or shingles and causes damage to the fascia and soffit. The flashing helps the water get into the gutter system quickly and away from the vulnerable areas.
Roof Nails
Calculate Nails per Shingle
If the manufacturer specifies the number of nails per shingle, multiply this by the total number of shingles needed based on your roof area calculations. This will give you a rough estimate of the number of nails required. Remember to account for wastage as well to give you and your team a buffer. This also applies to the mechanically attached underlayment.
Mechanically Attached Underlayment
Tag & Stick’s unique underlayment benefits homeowners by not only being self-adhered but also being mechanically attached.
Tag & Stick, LLC – Leading Underlayment Product
For well over 25 years, Tag & Stick, LLC has been leading the underlayment industry with our unique take on self-adhering underlayment. We’ve made the roofing contractor’s job easier by providing all that is needed to ensure a simple, safe, and code-approved installation. Call us at 954-255-3107 for more information on this incredible product.